Create Mode Configuration
Getting Started
Create mode in the NeoApps.AI allows users to add new entries to their database, making it a crucial feature for applications that require data input. This guide will walk you through setting up and customizing the create mode for your application.
Setting Up Create Mode
To enable create mode for a component:
- Select the component you want to configure in create mode.
- Navigate to the component's settings panel and find the Mode option.
- Choose Create from the dropdown menu to switch the component to create mode.
Customizing Input Fields
In create mode, you can define which fields users will fill out to add new records:
-
Add Fields: Drag & drop the desired fields from the component library into your component.
-
Field Properties: Configure each field's properties, such as field name, data type, and default value.
Implementing Validation Rules
Validation ensures that the data entered by users meets specific criteria before submission:
- Required Fields: Mark fields as required to prevent form submission without input.
- Data Type Validation: Specify the data type for each field to ensure users enter the correct type of data (e.g., text, numbers, dates).
- Custom Validation Rules: Create custom validation rules using conditional logic for more complex requirements.
Enhancements for User-Friendly Data Entry
To make data entry easier and more intuitive for users, consider implementing the following enhancements:
- Field Labels and Descriptions: Provide clear labels and descriptions for each field.
- Placeholder Text: Use placeholder text to give examples or further instructions.
- Pre-filled Default Values: Set default values for certain fields to save users time.
Enhance view of Create Form
The form view is initially presented in its default layout, as illustrated in the accompanying image.
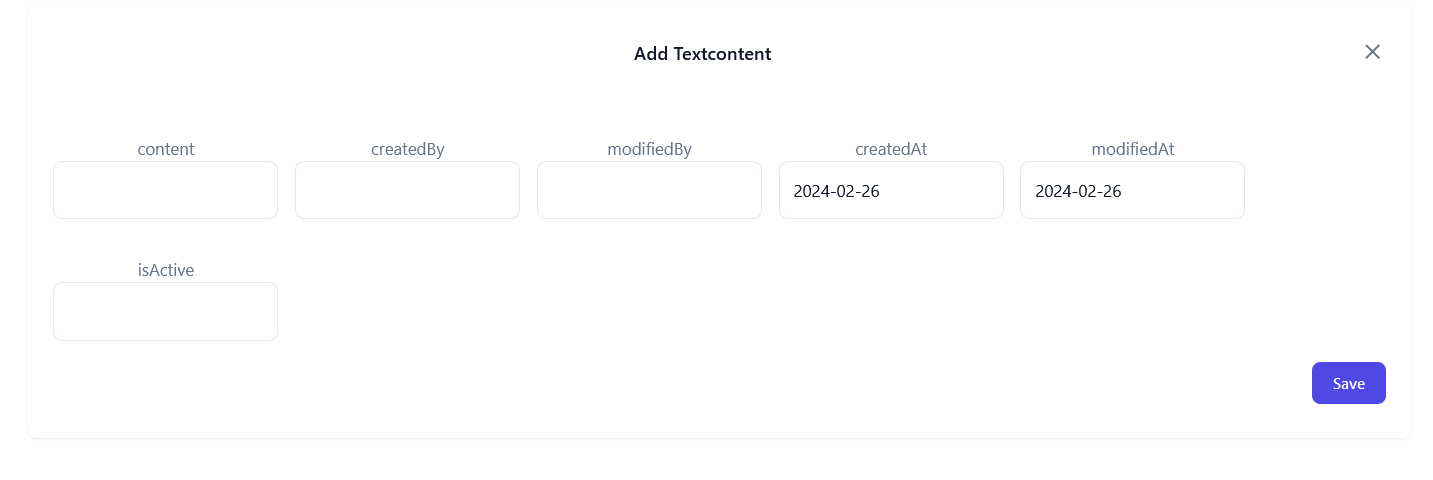
To enhance the form view for complex components, you can apply different grid sizes for different fields.
In the 'Create' section of the 'Create mode', you'll find a column named 'Grid List Column'. Here, you can select the grid number to adjust the size of different fields in the form. Additionally, in the 'In new line?' column, you can tick mark the fields that you want to be shown on a new line.
Previewing and Testing
Before finalizing your create mode configuration, it's essential to preview and test the functionality:
- Utilize the preview feature within NeoApps.AI to simulate the user experience of an application.
- Before accessing the preview, ensure the user interface (UI) is updated and released.
- Test the form functionality by entering data, validating all required fields, formats, and custom rules to ensure seamless operation.
Next Steps
With create mode configured, you're one step closer to having a fully functional application. Explore the following topics to continue building and enhancing your app:
Create mode is a powerful feature that allows your application to interact dynamically with your database. By following the steps outlined in this guide, you can ensure that users have a smooth and efficient experience when adding new data to your application.